
Posted by Curry S. on Jan 23rd 2020
DIY Pompoms
Things can get pretty dreary during these long winter months. Add some much-needed brightness to your home with these easy DIY pompoms!
Pompoms have been having a moment for a while now and we’re okay with it never ending. Lucky for you they're incredibly easy to make on your own! Once you’re comfortable making these the options are endless. Take a look at our five-step process and then check out the videos we have below for some inspiration to get you started! You can make anything from rugs, wall ornaments, spice up curtains or pillows, even accessorize by making jewelry or adding some pompoms to your winter hat and scarf.
Supplies:
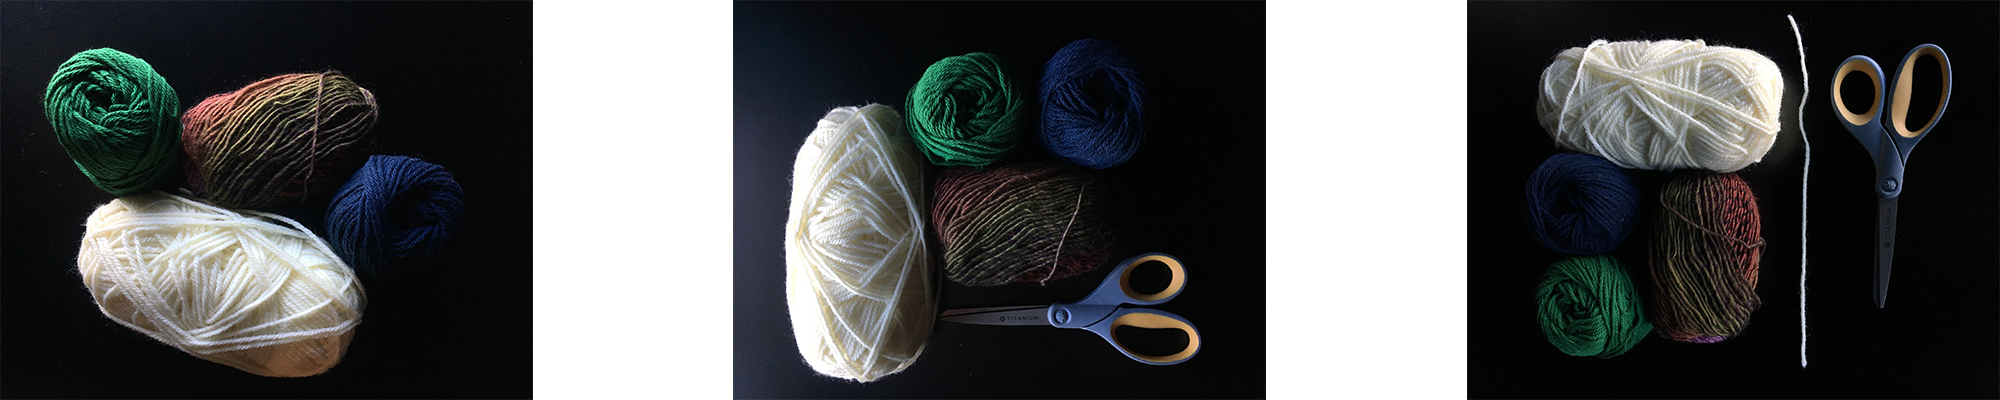
Yarn
Scissors
Hot Glue Gun
Instructions
Pick out your yarn. We think the thicker/fluffier the yarn the better. This allows for MPP™ (Maximum Poof Potential). Who doesn’t want maximum poof?
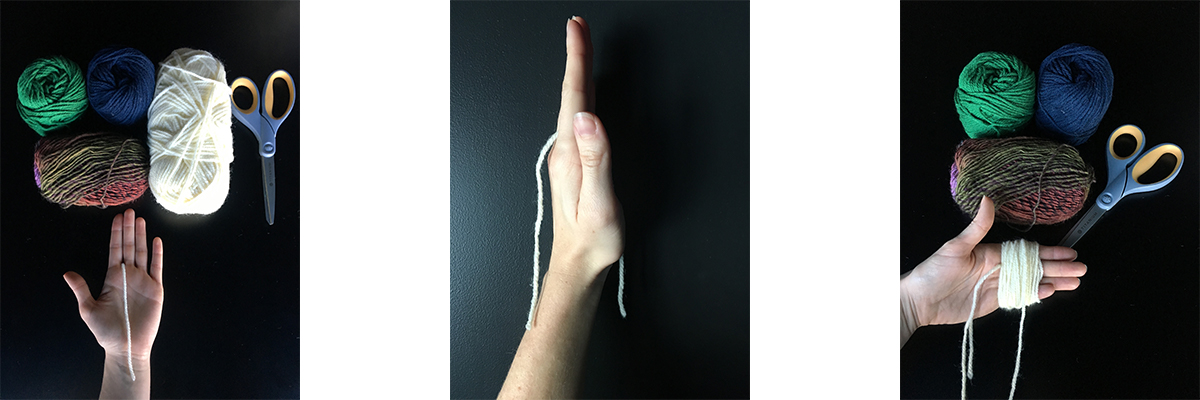
Cut one strand of your yarn. The length of this will depend on the size you want your pompom to be. Remember, you can always cut it shorter, but you can’t make it longer! Snip accordingly.
Place this strand of yarn between your pointer and middle finger and let it rest there. Then, start wrapping the skein of yarn around four of your fingers. Depending on how large you want the pompom we suggest wrapping it anywhere from 30-90 times.
Once you have the yarn at your desired thickness, take the strand of yarn between your fingers and tie it around the yarn as tight as you can (be careful not to break the strand! If you do break it, persevere. You will be successful).
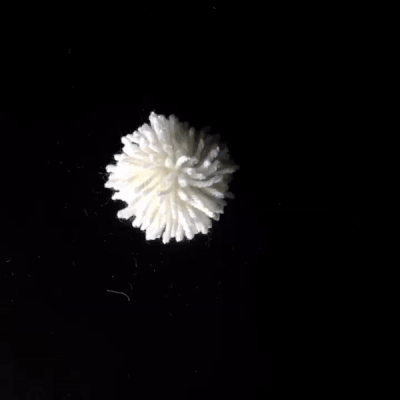
Take your scissors and start trimming! Keep the strands as short or long as you’d like, making sure they’re as even as possible all the way around the pompom.
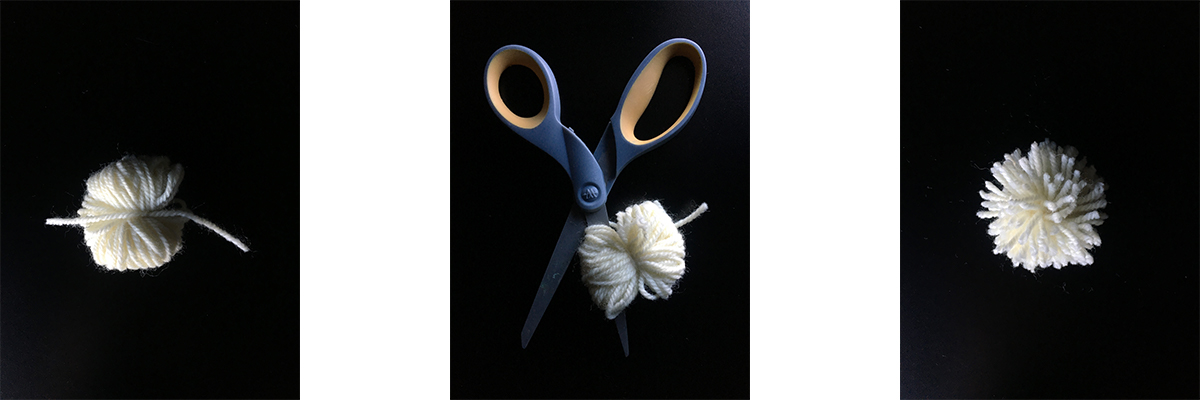
Voila! Now go forth and add pompoms to every surface in your home!
DIY Pom Pom Rug