
Posted by Curry S. on Jan 22nd 2020
DIY Gilded Place Mats with Sepp Leaf
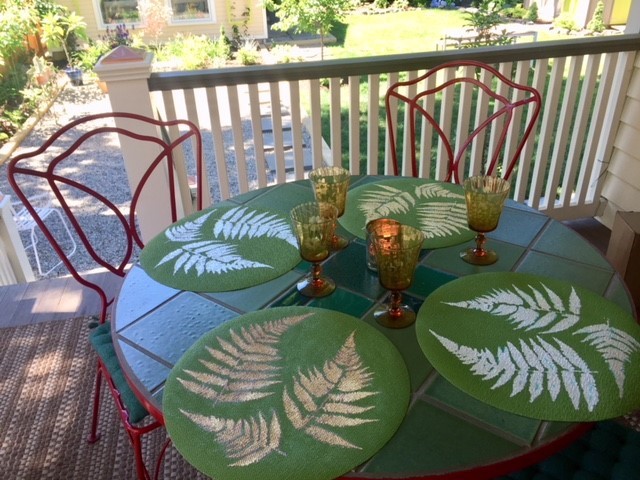
We wanted to indulge in a calming project as a break from busy summer activity. Gilding these mats is a great way to enjoy some serene, creative afternoon time. It’s an easy, fun process and the actual application of the leaf is instantly gratifying. The gilded placemats are a stunning focal point for alfresco dining, softly reflecting summer evenings’ glow and conviviality. Used indoors, they sparkle and bring in a little magic illumination from outside!
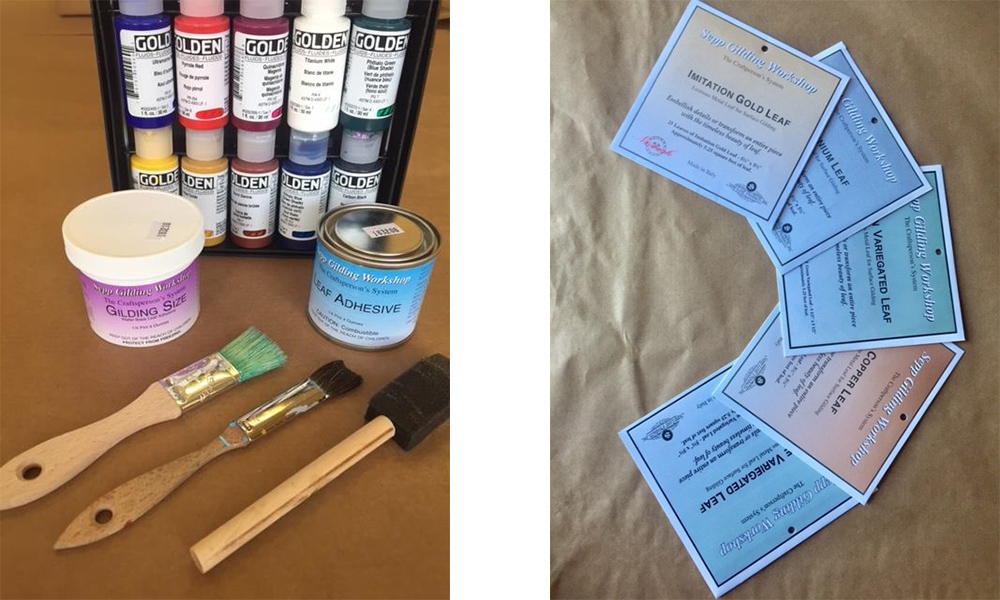
What You’ll Need:
Woven polypropylene mats
Synthetic stencil brush or foam brush for paint application
Synthetic paint brush or foam brush for applying size
Sepp Gilding Workshop Water-Based Gilding Size (adhesive)
Sepp Gilding Workshop Imitation Gold, Aluminum, or Copper Leaf, there’s also Variegated Red, Blue and/or Green Leaf to choose from!
Sepp Gilding Workshop Acrylic Clear Coat (solvent-based)
Let’s get gilding!
Using a foam brush, coat the back of the stencil lightly with SGW Water-based Adhesive. When it dries clear in a few minutes, it will serve as a fixative to help hold your stencil in place while you work.
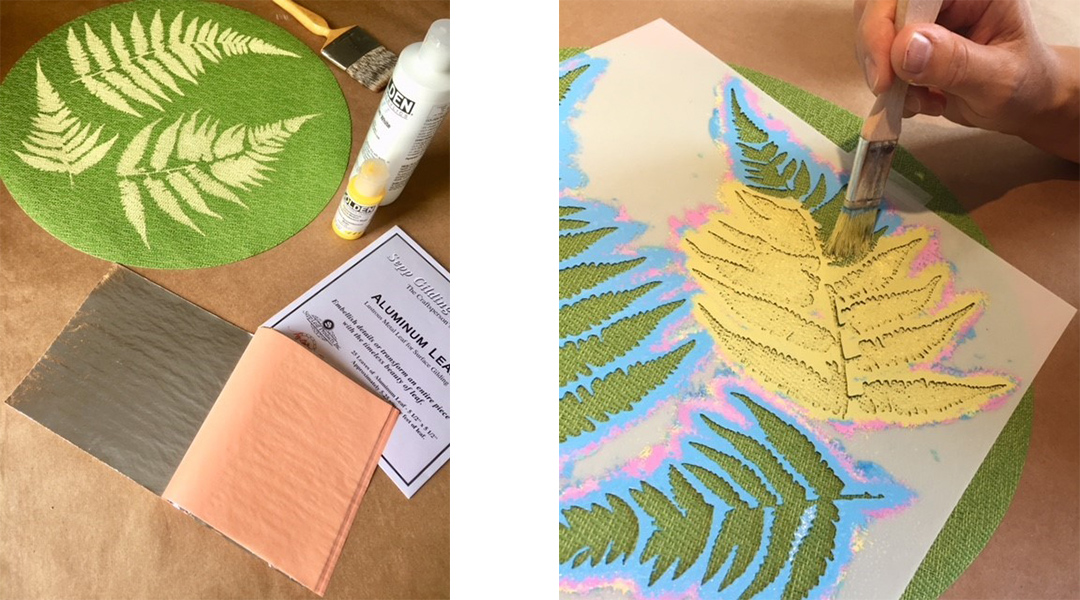
Gently stipple acrylic paint over the positioned mat (I mixed a few vibrant colors – pink, blue, green and yellow). With the textured surface, the colors you paint will likely be visible after gilding. The paint also seals the surface, so the size sits on top without soaking into the mat so much.
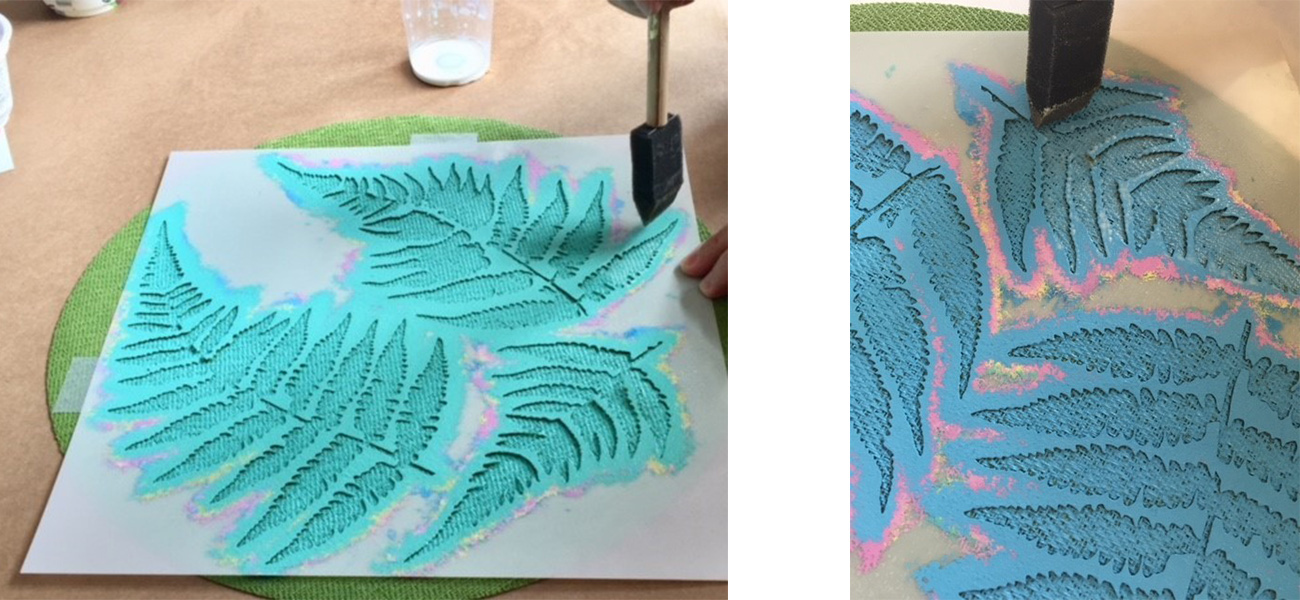
Stipple SGW Water-Based Size lightly and thoroughly across all areas you want to gild. Wash your brush or foam brush quickly in warm water. When the size turns from milky-white to clear, it’s time to gild!
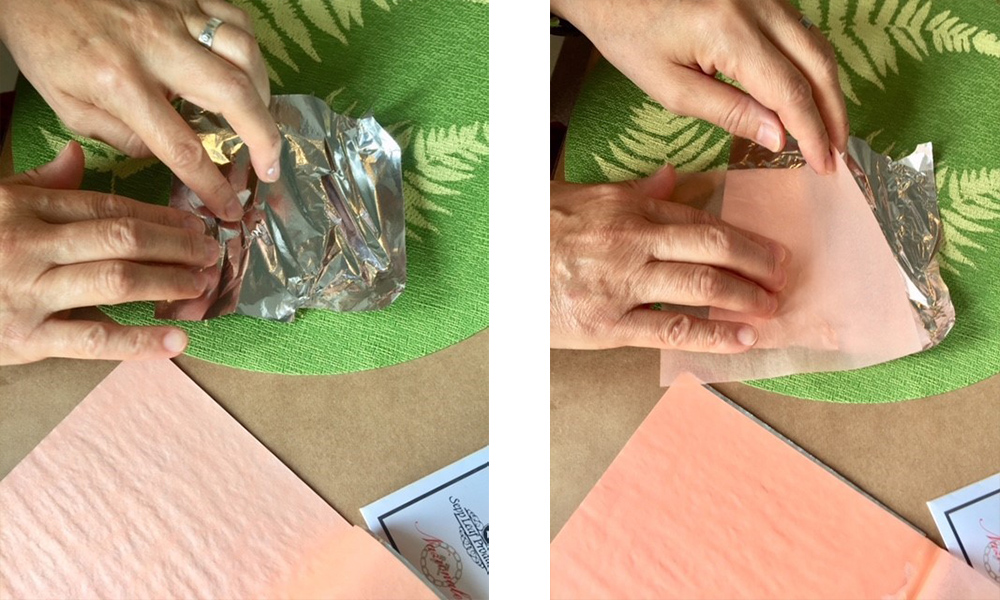
Pick up a square of leaf and “float” it gently over the sized area, then lay it flat (don’t worry about any wrinkles – these will just catch the light!). Using tissue pages cut from the book of leaf, press down the gold or silver leaf to make sure it sticks. Once you’ve covered all the sized areas with leaf, you can do a final pressing with the tissue.
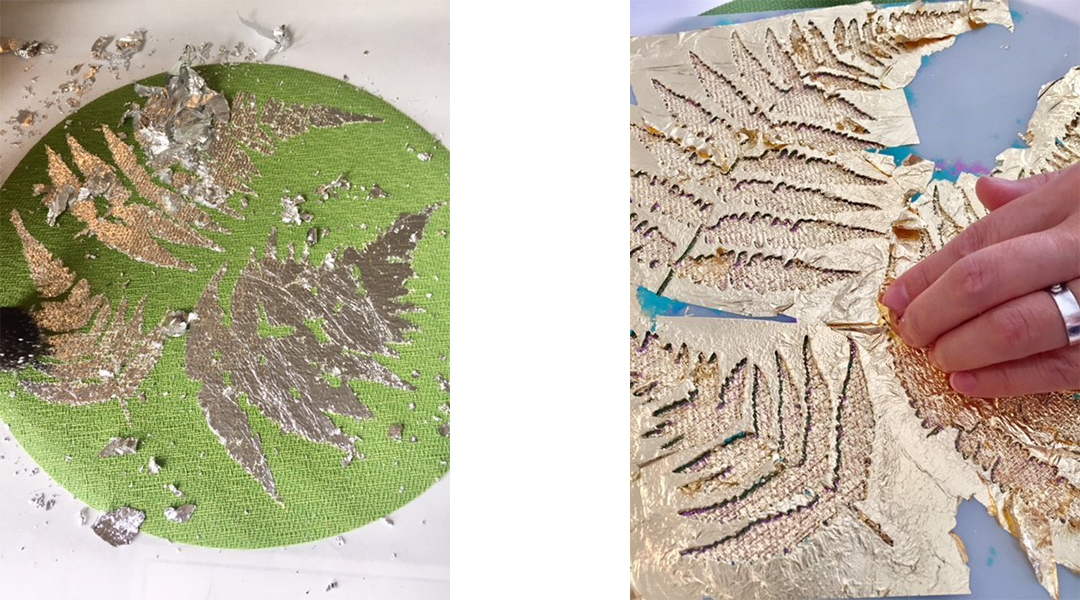
Brush the leaf to remove excess leaf – save the flakes for a future project!
Tip: If you want the outline of your gilded shapes to show the under color, simply place the mat over the sized area, then gild, as the photo above on the right shows. The leaf will naturally break at the edge of the stencil, leaving an outline of color exposed. Brush away all the leaf before removing the stencil.
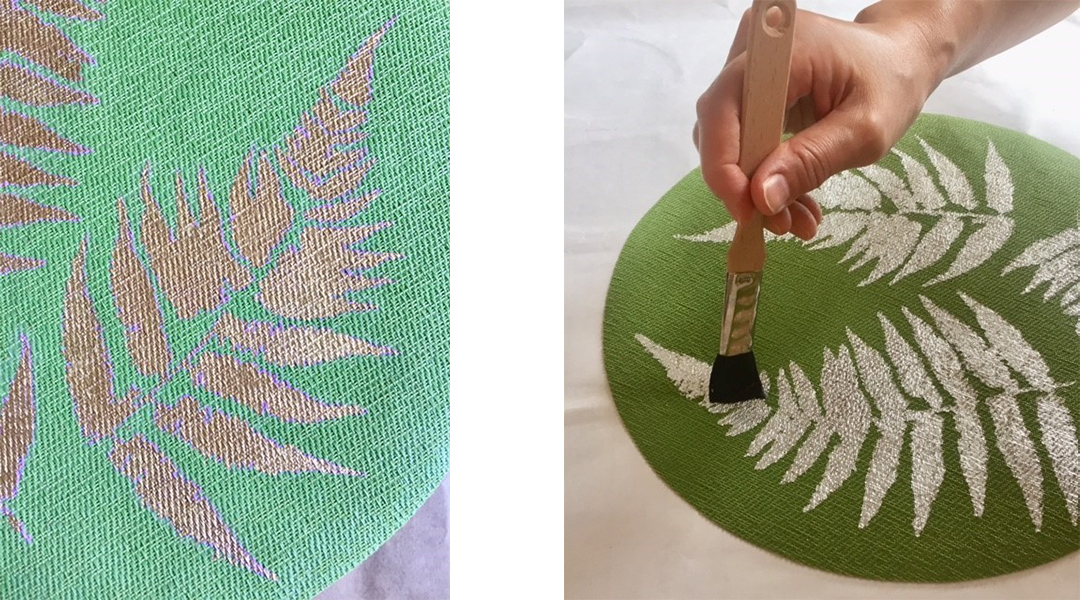
The photo above left shows the under color kept as a vibrant outline around the gold leaf. Ideally, wait two days for the water-based size to continue drying/hardening before applying topcoat. You can topcoat just the leaves or the whole mat to make it easier to wipe clean after use. Outdoors or in, your gilded placemats are ready to help you create a glamorous, glowing setting for your next party!
