
Jan 21st 2020
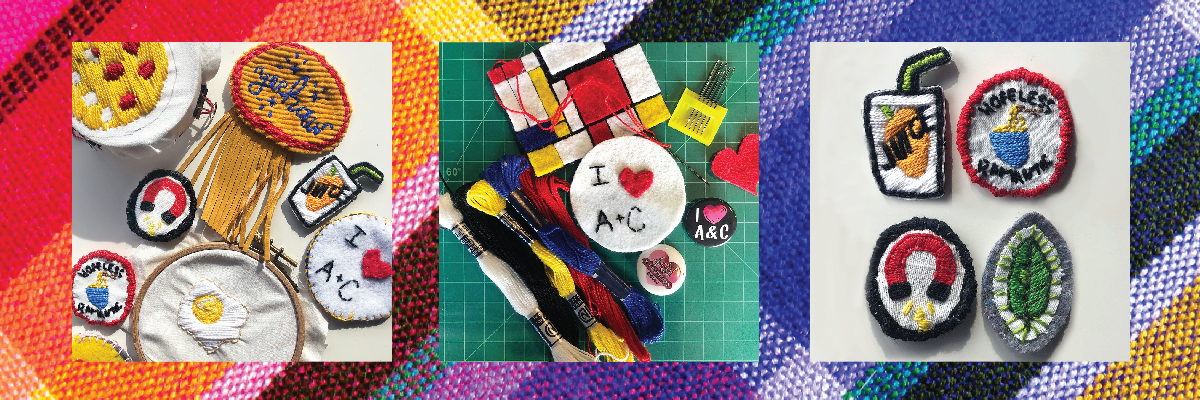
Picture Perfect Patches

Got a boring bag? Tired of that plain old jean jacket? Put a patch on it! In this DIY we’ll be demonstrating two basic stitches – back stitch and blanket stitch – and will give you the tools to make DIY patches! Full disclosure – I am a BEGINNER. Join me on this stitching journey and pray for my fingers.
Supplies List:
Embroidery Hoop (optional)
Embroidery thread
First things first; let’s get our stitches straight.
Backstitch
A backstitch is a basic stitching technique that is so easy even I was able to get the hang of it.
1. Take apiece of fabric and draw a straight line with a ruler (this is for practice, you can free style it once you get comfortable using this technique). Thread your needle and tie a knot at the end.
2. From the bottom of your fabric (the side the line is not drawn on), poke the needle up from beneath the fabric at one end of the line. Pull the thread all the way through until the knot catches.
3. Push the needle back down through the fabric along the line. The length depends on how long you’ll want your stitch to be.
4. Remaining consistent with that stitch length, push the needle back up through the fabric, and into the same hole as the previous stitch.
5. Repeat that pattern the full length of the line. This will result in an unbroken line. Weave through the last 3 – 4 stitches to secure the end of the line.
Got all that? Here’s a video that will help clear up any questions:
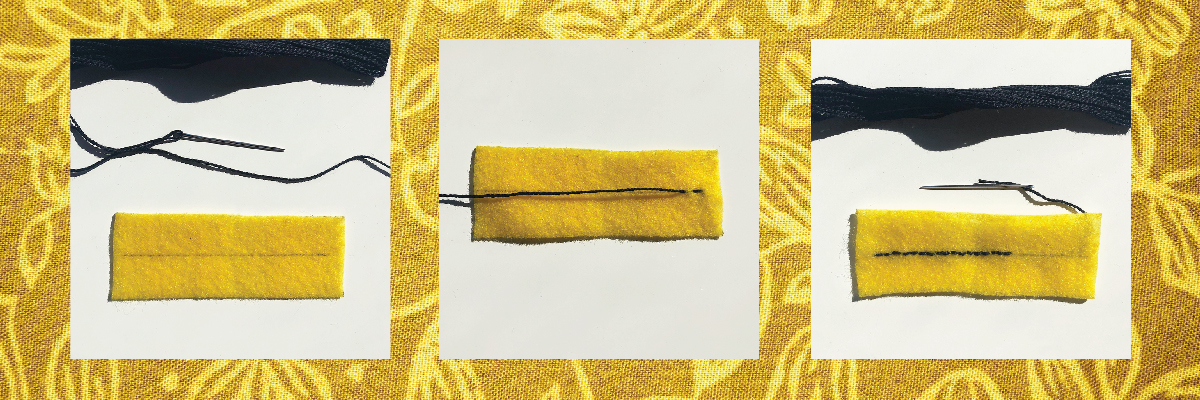
Blanket
Stitch
A blanket stitch is a great way to attach two pieces of fabric together. With this simple looping technique, you’ll have it down in no time.
![]()
1. To practice, either fold a piece of fabric in two or place one piece of fabric on top of another, making sure they are the same size and even.
2. Take a piece of fabric and draw a straight line with a ruler (this is for practice, you can free style it once you get comfortable using this technique). Thread your needle and tie a knot at the end.
3. Take a piece of fabric and draw a straight line with a ruler (this is for practice, you can free style it once you get comfortable using this technique). Thread your needle and tie a knot at the end.
4. Push the needle through the top piece of fabric from back to front about half an inch away from the edge. The knot should be between the two fabrics where it will not be seen. Once you have finished sewing the knot will be hidden inside the stitches.
5. Bring the thread around the edge of the fabric and back through the same spot as the first stitch. This will create a loop with the thread.
6. Push your needle through the loop. If you are sewing left to right, then your needle should be pushed through to the right along the edge of the fabric. The opposite if you are sewing right to left.
Click here to access a very helpful guide that uses looped videos to show you each step. If you’d prefer to watch a full video, here you go:
Ready to patch it? Here’s how to attach it!
First you need to trim and finish your patch. To do this you’ll need:
Scissors
Mod Podge, fabric glue or clear nail polish
Small Paint Brush or cotton bud to apply the glue
Carefully trim the edge of your patch getting as close to the stitching as you can. Apply glue to the edges to stop the fabric from fraying and let it dry.
To make any patch an iron-on patch you need:
Hot Glue Gun with Glue Gun Sticks
Toothpick or popsicle stick, optional
1. Heat up your glue gun. As evenly as you can, apply glue to the back of the patch avoiding the border stitching or leaving ¼ border. You can use a popsicle stick to spread the glue if you need to and a toothpick to get into any smaller areas. Let this dry completely.
2. When you’re ready to iron on your patch, heat up your iron and iron the front and back of the item you are putting the patch on to warm up the spot.
3. Carefully, place the patch glue side down, cover it with a towel and set the iron on it for about 30-45 seconds.
4. Flip the item with the towel on the bottom and iron the back for about 30-45 seconds. Make sure you apply some pressure and get into all the corners.
5. Flip your item over again and quickly iron the patch without the towel, getting into the corners. Let your patch cool and dry completely before touching it or moving the item.
Alternatively, you can apply the hot glue to the back of the patch and glue the patch right onto the item without waiting for it to dry and using an iron. OR you can add hot glue to the back and place a clothes pin!
For more stitching tutorials and samples, I recommend this YouTube channel. It’s one of many that I came across when putting this blog together. Do you have a favorite stitch or tutorial? Share it with us in the comments!