Posted by Bailey Pollack on Mar 24th 2016
Paper Flower DIY
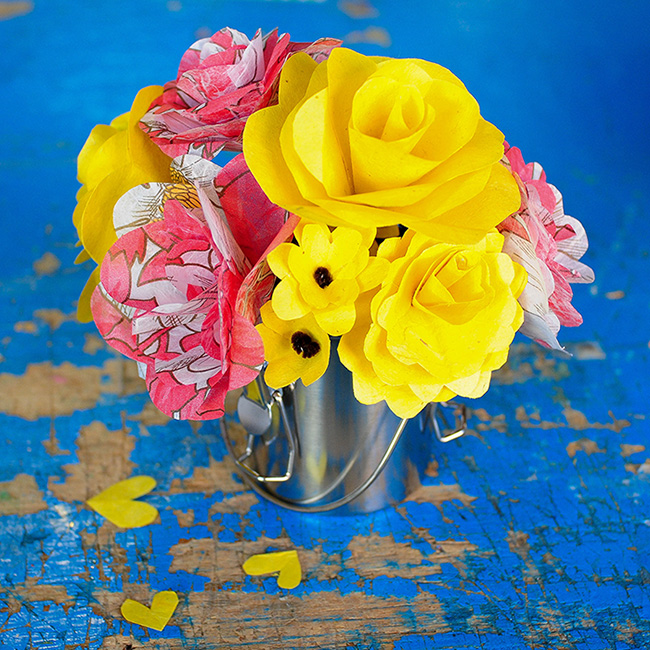
Who wouldn't love to receive a bouquet of flowers that will never wilt! Give someone special a bunch of permanent sunshine or make some for yourself... because they are adorable. This is a pretty flexible tutorial, just don't use paper that is too thick or else you will have difficulty rolling it into shape. If you plan on displaying your flowers in a vase or jar use thick enough wire or double up on the chenille stems.
Supplies:
- Medium weight paper (we recommend Shizen Exotic Papers)
- Chenille Stems or Jewelry Wire
- Medium size craft beads (optional)
- Glue gun & glue sticks
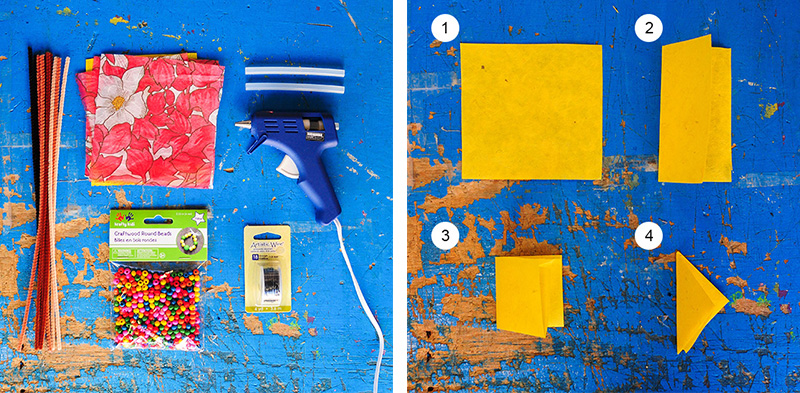
1.) Cut your paper into squares that are at least 4" x 4", you will need three per flower. Fold each piece in half, in half again and then in half once more (corner to corner) to form a triangle - see image above. If you are using a patterned paper, keep the pattern on the inside.

2.) Cut each folded piece at the top as shown above to create a petal shape and snip off the SMALLEST amount at the bottom to create a small hole in the center of your flower shape.
3.) Unfold your petal triangles and from your first flower shape cut out one section or petal. Cut out two sections from your second flower and three sections from the last one. Save all the smaller sections, those will form the inside of your flower.

4.) Start by rolling the single section into a small cone shape with enough space at the bottom for your "stem", glue longest edge and repeat with the remaining five flower sections. You can add some dimension to your flowers by slightly curling the petals out on the three larger flower sections.
5.) Slide the smallest section onto your wire or stem and secure with a dot of glue.
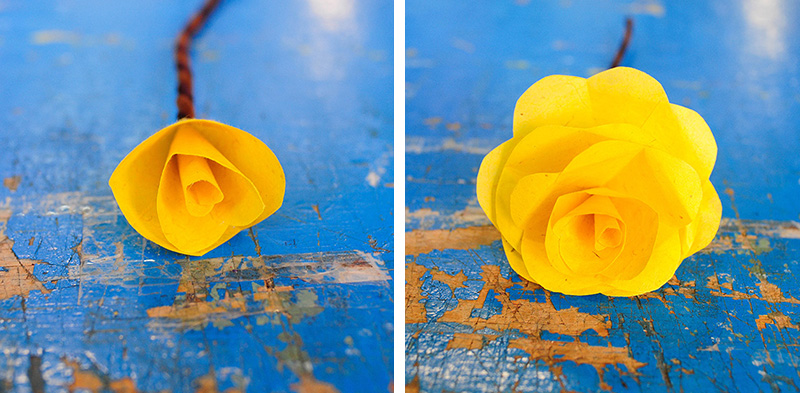
6.) Add the rest of your flower sections, slide a bead up the stem and secure with glue. If you are using wire, you can add thickness to the stem by wrapping it with floral tape.
This DIY was adapted from this Watercolor Paper Rose Tutorial from Capitol Romance

