Jan 22nd 2020
DIY Gilded Journals with Sepp Leaf
New year, new you! One of our favorite ways to turn over a new leaf is by getting a brand new journal. In this case, the leaf we're turning over is gold leaf! Whether this is for you or a gift, a personalized journal with some added sparkle is always appreciated. This blog comes to you from our friends at Sepp Leaf. Happy gilding!
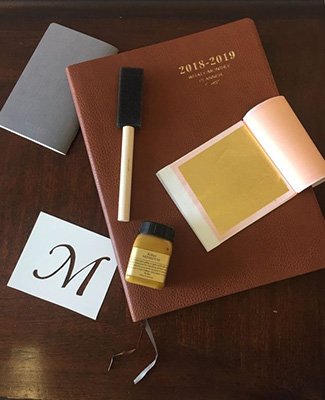
Supplies:
Kölner Burnishing Chamois
Kölner Miniatum Size
- Kölner Miniatum Size is designed for gilding flexible surfaces such as leather/vegan leather, vellum, parchment, paper and fabric. If you’re working on a porous, paper covered journal you may want to seal the surface - acrylic paint works well.
- Genuine gold leaf which is soft and malleable and will cling to the contours of a textured surface. Imitation gold leaf is not as soft – it’s somewhat brittle character means it won’t smooth out as much over the surface. You can use 22kt patent if you wish - we love 23kt for its rich effect and extra suppleness.
Stencil with Desired Initial or Design
- If you don’t want to use a stencil, Miniatum is lovely to use for free-hand lettering with a fine paintbrush.
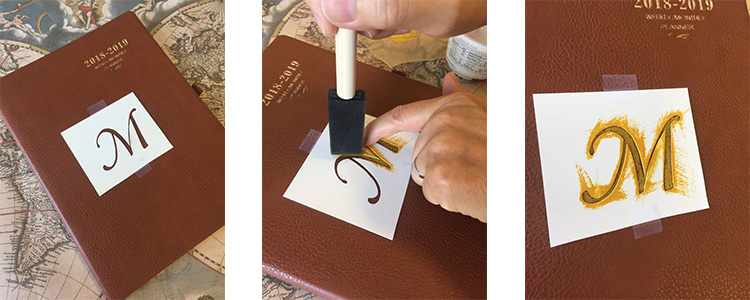
Instructions:
Position the stencil on the cover (tape in place if necessary). Pour a small amount of Miniatum into a clean container. Load your foam brush lightly with Miniatum (you can dab excess onto the wax paper), then stipple a light coating. Remove the stencil and wash in water. Allow the Miniatum to dry for about half an hour. After 30 minutes re-position the stencil over the letter and apply a second layer of size to create an opaque coating as above. Remove and wash your stencil. Let the Miniatum dry for half an hour.
To avoid gold leaf from potentially sticking where you don’t want it, mask around the initial to avoid gold from potentially sticking – genuine gold is so soft it loves to cling to certain surfaces. Fold back the top pages of the book of 23kt patent gold leaf to expose the topmost gold leaf. Pick up the gold leaf by holding the paper backing without touching the gold. Place the gold leaf face down over the initial – it should cover the letter completely. Rub the backing paper to ensure all the leaf bonds with the size.
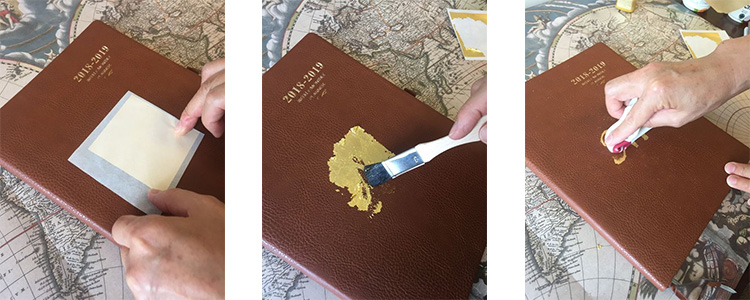
After the design is completely covered with gold, gently swirl a soft brush over the gold leaf – your letter will emerge, and the excess flakes can be kept for future projects. Finally, polish the surface with the Kölner Burnishing Chamois, no topcoat necessary.

Your golden planner is ready to shine all year long!